Sunday, November 28, 2010

Back in the day.

It's winter. So as I spend more time in my house I become increasingly aware of the junk that somehow took root in my house. Rosanna and I are purging clothes we don't need, dvd's, cd's, books, all the kind of stuff a person keeps around because it has some sort of nostalgic value but in reality is just trash cluttering up ones personal space. At the same time, I began doing a digital cleaning of my old hard drives and I stumbled upon some old rough cuts of the moped documentary I started and never finished.
Back in 2006 I was in a video art class, (I believe it was Video 301 or something) and our project for the semester was to make a documentary. I had a friend who was involved in the moped scene here in Seattle so I figured I'd give her a call and see what those scooter things were all about. I followed the Mosquito Fleet around and filmed them doing their thing for a while, I bought my own moped, went to a rally in Arizona, and generally just got to know some great people and had a lot of fun. Eventually, I became less interested in taping and more interested in fixing bikes and riding. I also had a serious lack of confidence as to where the doc was going so I have a few drastically different rough cuts of my footage.

I've currently exceeded my Vimeo limit for the week so I'll update this post later with another video.
Enjoy!

Moped Doc Trailer from Joel Kvernmo

Moped Doc Arizona from Joel Kvernmo

Update:
Another video

Wednesday, November 24, 2010

Making a disc brake.

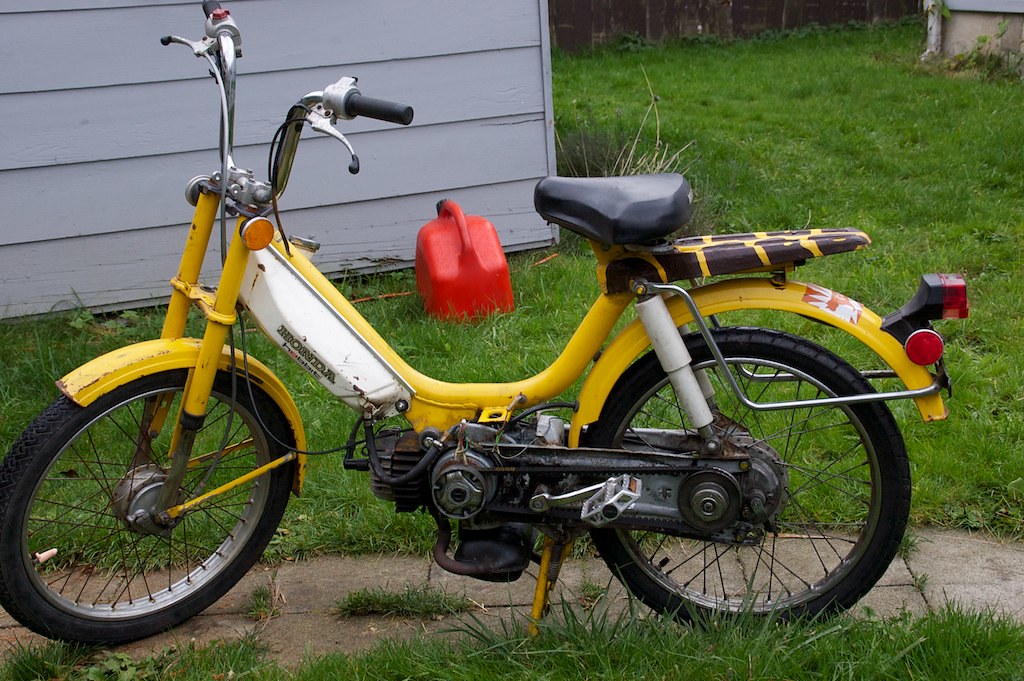
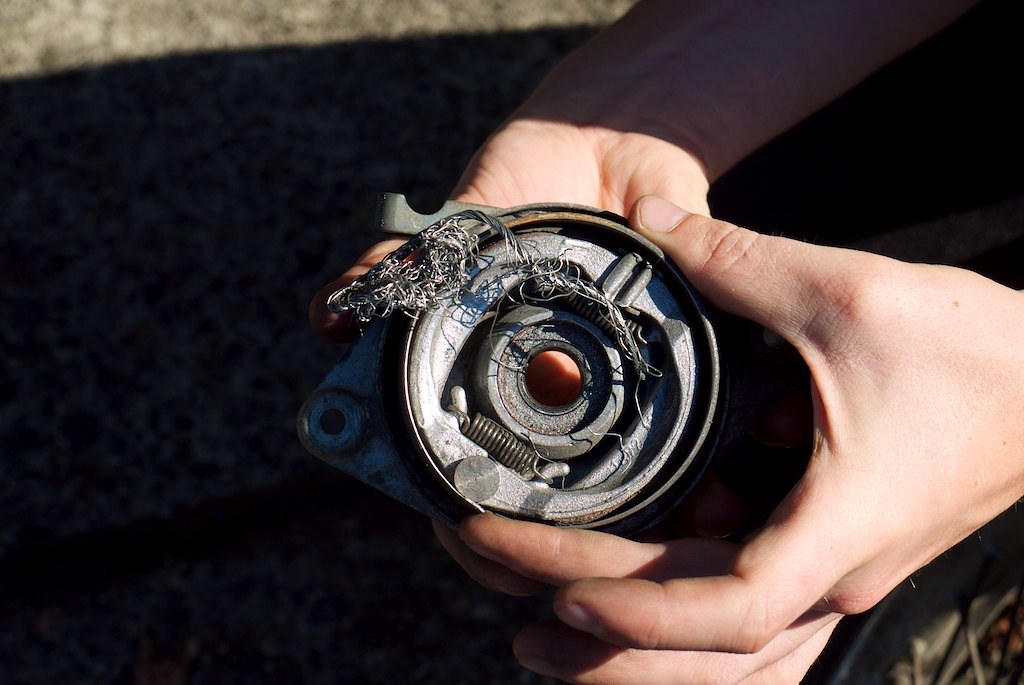
A while back Rosanna was riding old red and gold maxi and kept mentioning how bad her brakes were. I must admit I didn't consider her concerns to be in urgent need of attention until I had an opportunity to ride the bike myself. What she described as "doesn't brake very well" was in reality a complete lack of brakes. It was a truly hair raising experience. I tried a few times to improve the brakes by sanding down the drums, putting in new shoes, changing out the brake lines, nothing seemed to improve the situation.

So, when Rosanna hatched her plan to build a custom Pinto, I was determined that her brakes be over built. I want her to be able to stop on a dime. So while many people are adapting motorcycle disc brake setups, I thought that I would adapt a mountain bike disc brake setup. There are a few reasons for this:
A) Bicycle disc brakes are relatively cheap.
B)The calipers come in very good quality cable operated versions. My plan is to use the stock moped levers.
C) The challenge, man!

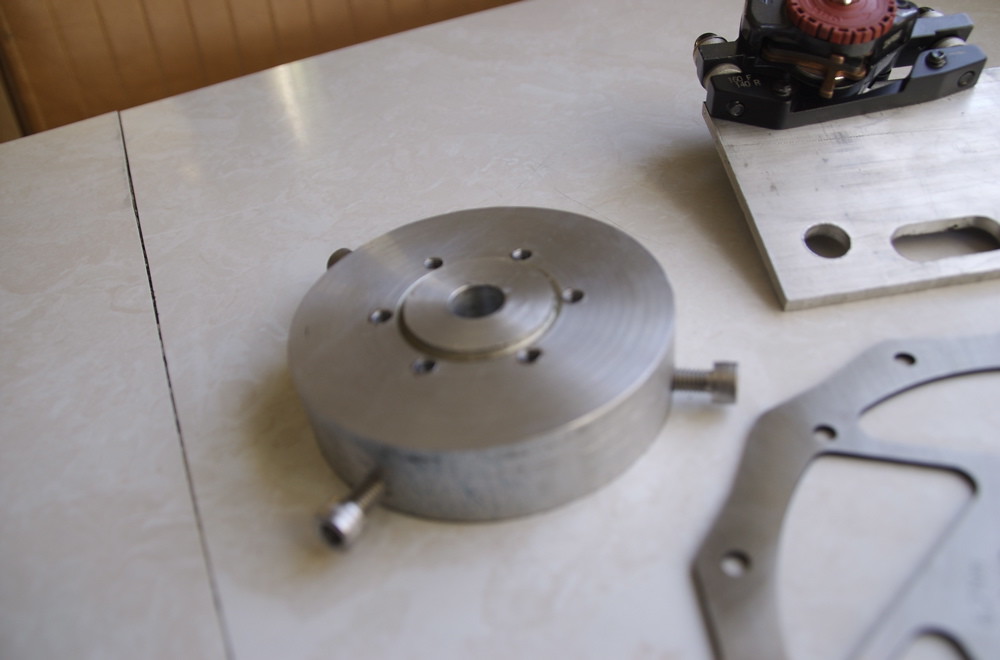
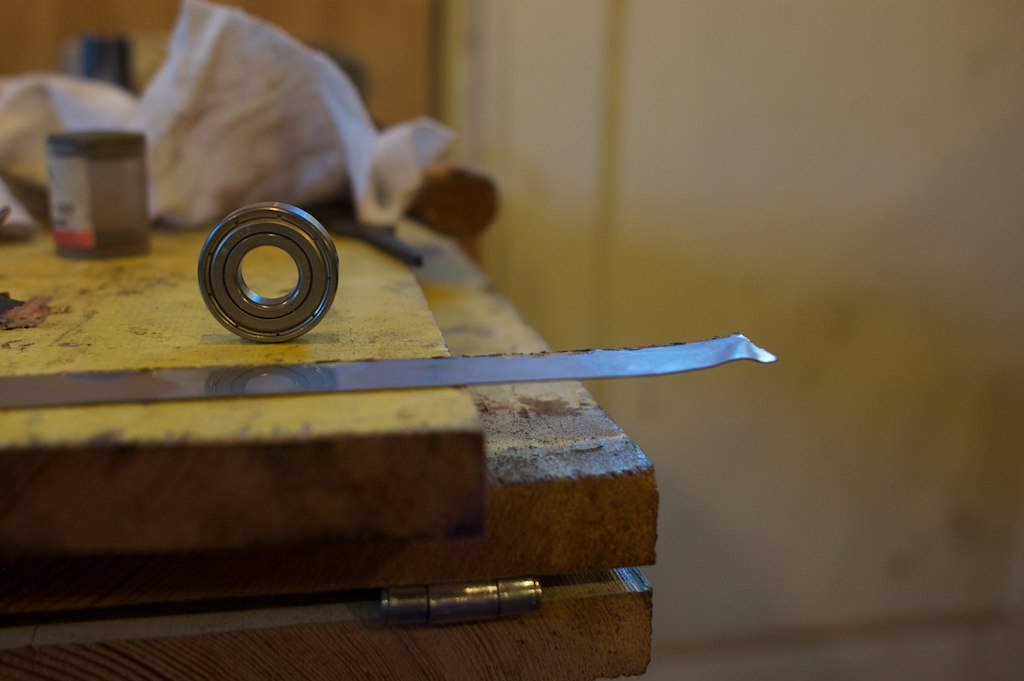
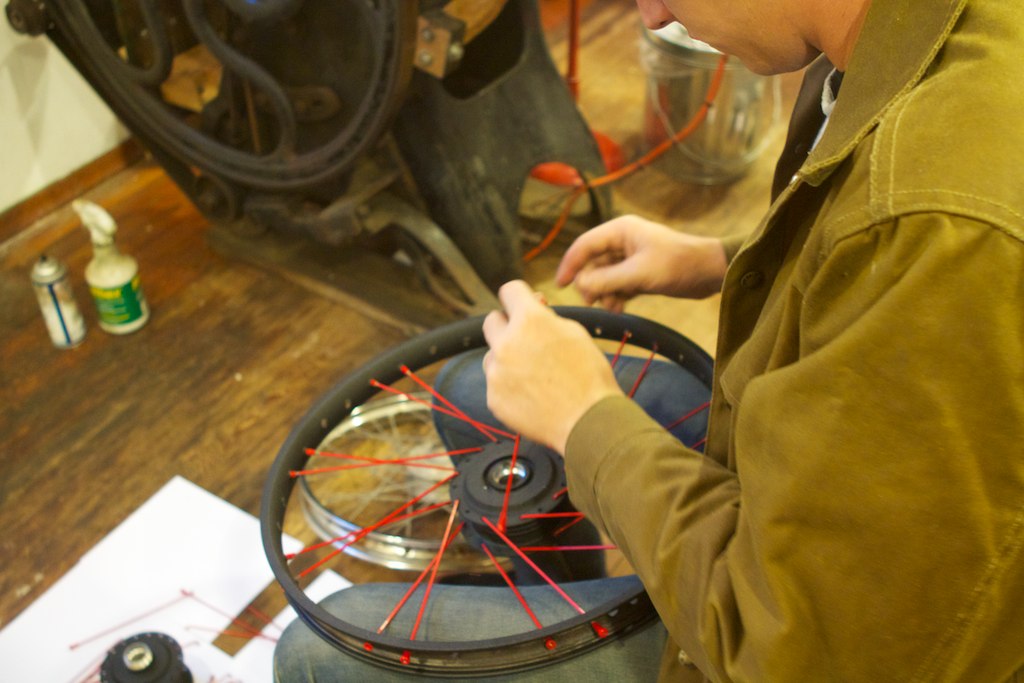
The first task was to make an insert that would replace the existing brake hub. I managed to purchase some aluminum stock from online metals for about $10. I headed down to the wizard lair and turned the insert, drilled and tapped it. This was certainly the most time consuming part of the process.
DSC_8623
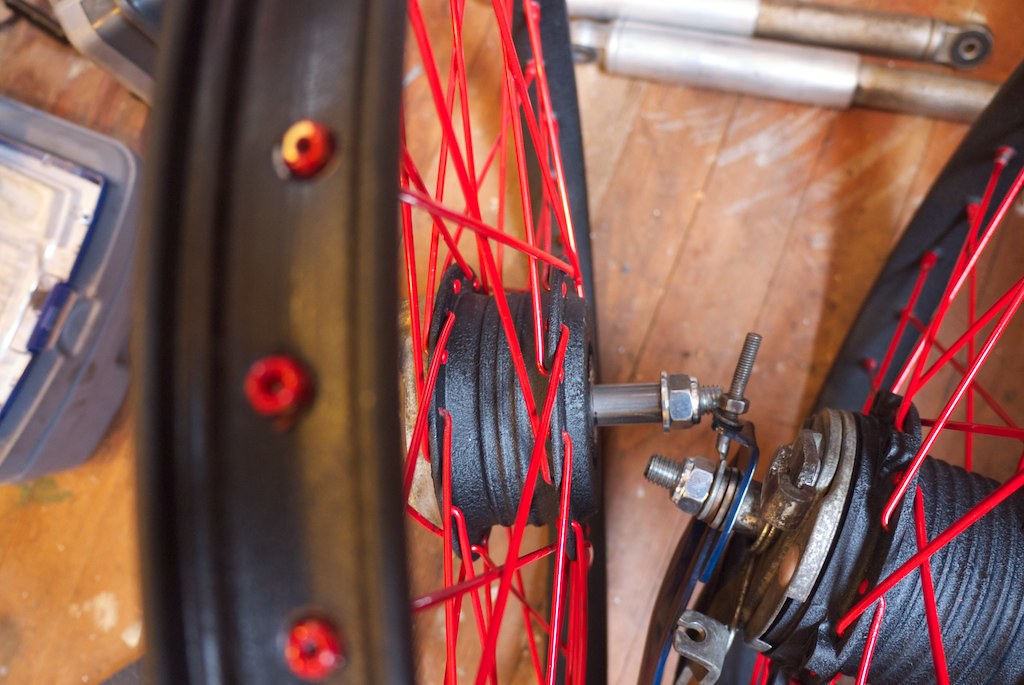
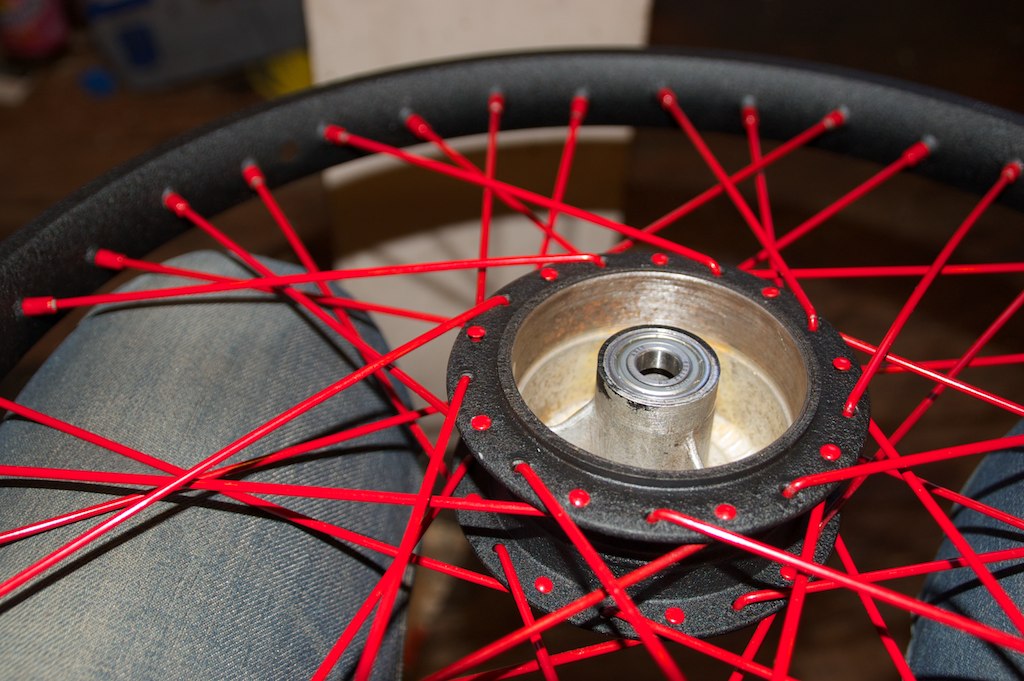
So as you can see here, I have drilled and tapped for the disc, and I have drilled and tapped the insert to keep it from spinning on the hub.
DSC_8621
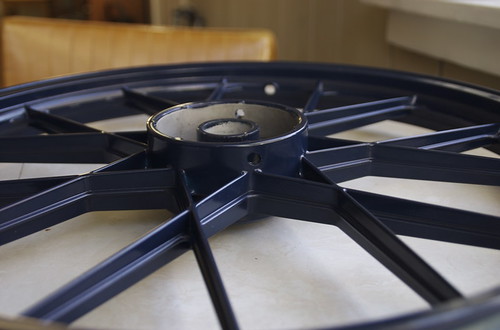
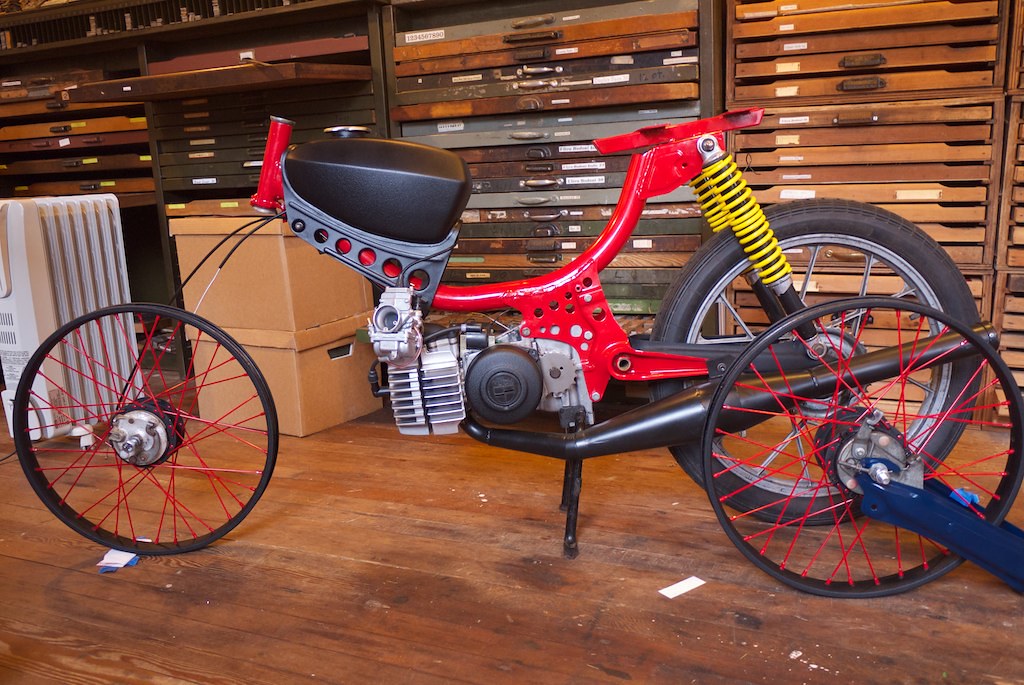
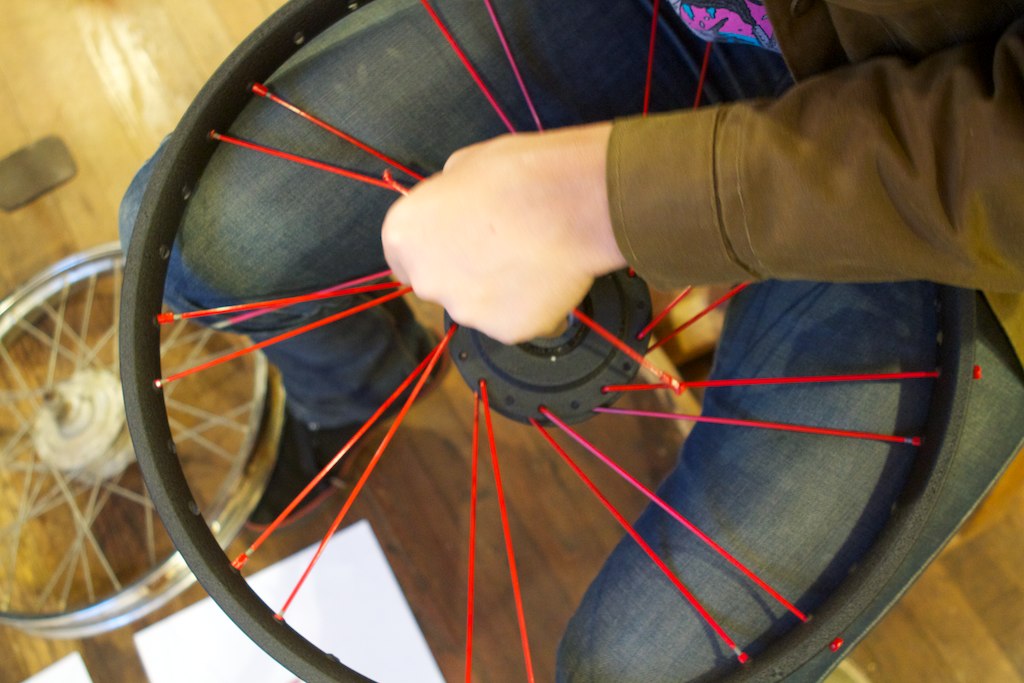
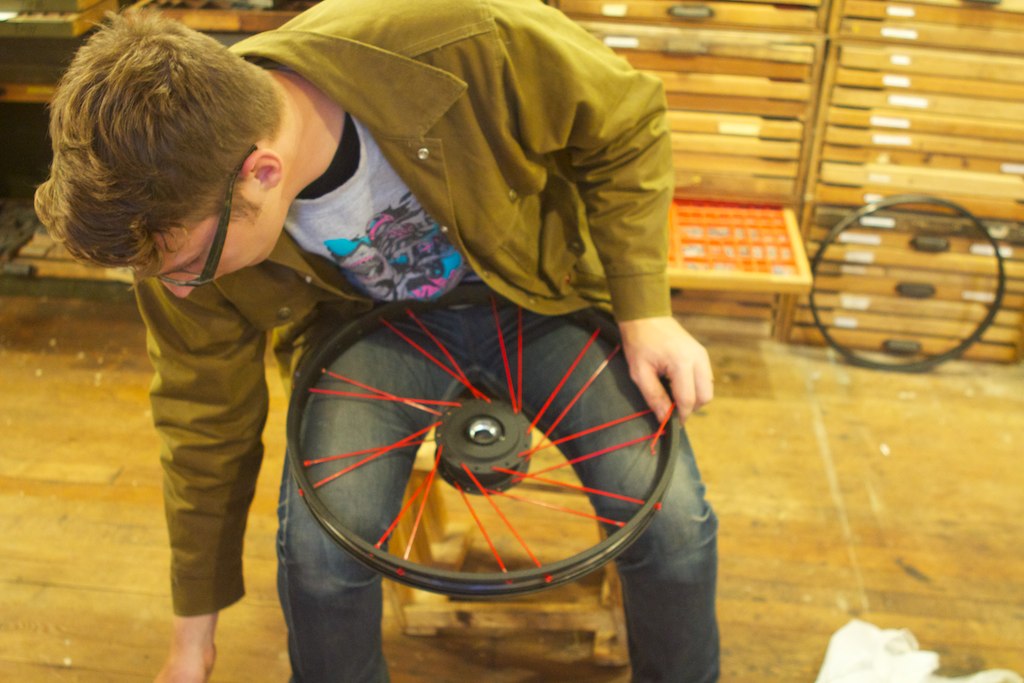
And then here you can see Rosanna's beautifully powdercoated wheel has matching mount holes.
DSC_8622
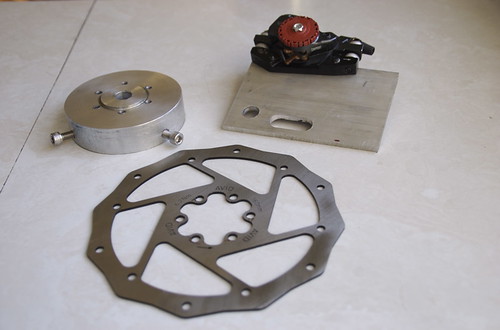
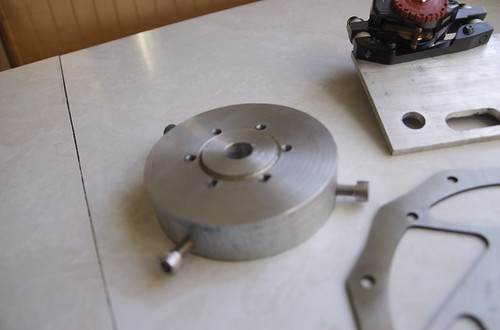
Here are all the parts. Up in the top right corner you can see the bracket I made for the caliper. The round hole mounts on the axle and the slot goes on the existing brake stop.
DSC_8625
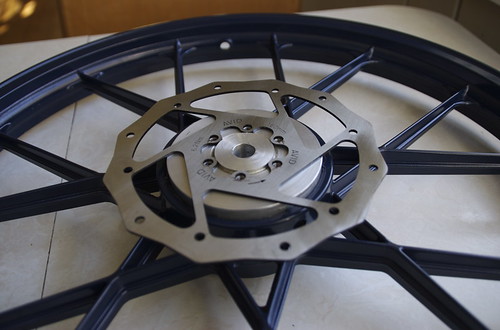
I still have a little bit of work to go before this wheel is complete, spacers need to be cut for the bearings and the hub insert and the brake caliper. But now that the wheel has been powdercoated we are a lot further along. Exciting!!!

Thursday, November 11, 2010

Well hello mr. hoobit.

Phil gave me a hobbit. Well, by gave I mean I said, "How about I trade you my 2 speed hercules for the hobbit and your forks?" And he said, "Sounds fair, but how about I just leave the Hercules at your house?"
So now I have a hobbit. Which is great!
DSC_8495
I took the hobbit over to Travis' garage the other day to see if we couldn't get'r running.
Travis was concerned about how much the rear wheel was dragging so we popped the freewheel off to access the brake plate and this is what we discovered.
P1040189
P1040182
So in the first photo, you can see on the left the brake drum liner that has separated from the brake hub, and then proceeded to swirl around and around within the hub. The second picture shows the mangled up brake shoes and somehow a large tangle of brake cable also got in there?
Travis was very amused.
P1040184

The bike was originally missing some things, a tank, a petcock, an exhaust pipe, and brake shoes. But with Travis' generosity we scrounged up some spare parts and got it running. I still need to do a little bit of work on it, there's currently no lights and it needs a new rear tube, but all in all in should be a great little loaner.

DEATHped is still coming along, I've reach a financial impasse so hopefully on I'll be able to finish it up.

Tuesday, October 26, 2010

DEATHtank and various other things.

Oh man! DEATHped is getting close. Yesterday I went to the wizard lair and got a lot of work done. I got the tank, magneto cover, and headlight bucket all powdercoated in a deathly wrinkle black.
P1040036
I'm not entirely positive what the deal is with that bike, but when I held that tank in it's completed form something happened.
P1040037
It's probably nothing. Anyway, the bike is starting to come together nicely, I still need some essentials; forks, shocks, seat, tires, chains, etc. But really, I swear, it's coming together.
P1040041
The wheels are pretty much done, just truing remains. Just for info sake, the final equipment needed to convert loose bearing leilu (sp?) wheels to sealed bearings are:
-180mm M12 bolt x1 + washer and lock nut
-150mm M12 bolt x1 + washer and lock nut
- 6001zz sealed bearing x4
-.5mm shim stock
-Loctite 262
-.5" Nom. Aluminum Pipe
Estimated cost, ~$30.
I also got an 18 tooth freewheel which should give me a little more pedaling speed. Probably unnecessary, but neat nevertheless.
P1040044

Friday, October 22, 2010

LA

Whenever I get home from LA there are never enough photos to fully illustrate everything that went down. But on the other hand, maybe it's better that way.
Here is a couple of rad dudes that always treat us right.
P1030963
I'm the sort of person that doesn't really like arguments or overly opinionated people. Usually if I disagree with someone I'll just keep it to myself. But for some reason there always comes a moment at parties when I'm yelling at everyone within earshot about how Dick's drive-in is far superior to In-n-Out, or how the Seahawks were robbed by the refs during Supersham XL, or sometimes I'm just screaming "Everybody Dance Now!" Rosanna thinks it's obnoxious but I think I'm awesome. I'M AWESOME OK!? Why's everyone leaving the room? Oh yeah, the reason that I'm saying all of this is because at some point at this party I was screaming about the Seahawks. And then the next day, surrounded by Chicago transplants, I witnessed the Seahawks beat the Bears. Booyah!
Anyway, Jed of the Latebirds has recently begun honing his tattoo skills and what better way to practice than on your poor decision making friends?
P1030988
P1030991
Here Craig and I are modeling the latest design from Altru Apparel, Cam makes a great model.
P1030996
The next day Nik took Rosanna and I to the Getty. I must say that I was blown away by the architecture. What an amazing place. If you have the opportunity to visit I would highly suggest it.
P1030997
P1040001
P1040004
P1040006
And lastly, a photo of Cam on his first day at Folsom Prison.
P1040021

Thursday, October 7, 2010

Converting to sealed bearings

Converting loose bearing wheels to sealed bearings has always been a difficult and time consuming effort for me. But I really think that if done correctly the product is worth it. The leleu wheels that I am using have an OD of 29mm. That's a problem because the bearing sizes I want come in 28mm or 30mm.
Yesterday I stopped by the wizards lair and asked phil if they had any pipe I could turn in order to make a shim for 28mm bearings. If you were keeping track that would mean I'm making .5mm shims. That's small and probably too difficult to turn in a lathe. Phil suggested I go get some shim stock. I didnt know that this stuff existed! It's great. I was able to stop by online metals and pick up some .5mm shim stock and since it was scrap they just gave it to me for free.
DSC_8340
Anyway, I got the shim material, cut it down with my dremel and trimmed it fit.
DSC_8343
All in all it's been super simple and easy. I still need to use some red loc-tite to seal it in place and I need some length of pipe to keep the bearings from being pulled in on each other.
DSC_8344
DSC_8348
The bearings i used were 6001zz. With this setup I'll be running 12mm axles. Stoked!

Wednesday, October 6, 2010